
Production and sale of grain cleaning equipment worldwide
Spring Planting Checklist: What to Verify Before the First Acre
17 April 2026


Even if you’ve been planting for years, the first day in the field can still surprise you. Small issues that are easy to miss in the yard often show up later as uneven stands, replant decisions, or lost time when conditions are already tight.
This isn’t a full setup guide. It’s a quick, practical checklist you can run through before the first acre. A short walk-around, a data check, and a simple field verification can help catch problems early, before they turn into something more expensive.
A quick check before the first acre helps avoid uneven stands, replanting, and downtime.
Why a “First Acre Planting Checklist” still pays off for experienced growers
Even if you’ve been planting for years, the first day can still hide small problems. Most of them are not major issues, just things that were slightly off, missed in the rush, or carried over from last season.
A quick pre-season cross-check helps catch those early. It’s usually the small stuff that leads to bigger headaches later, uneven stands, extra passes, or downtime when the weather window is already tight.
Nothing here is about relearning how to set up a planter. It’s simply confirming that your setup, your data, and your system are all ready to perform the way you expect once you hit the field.
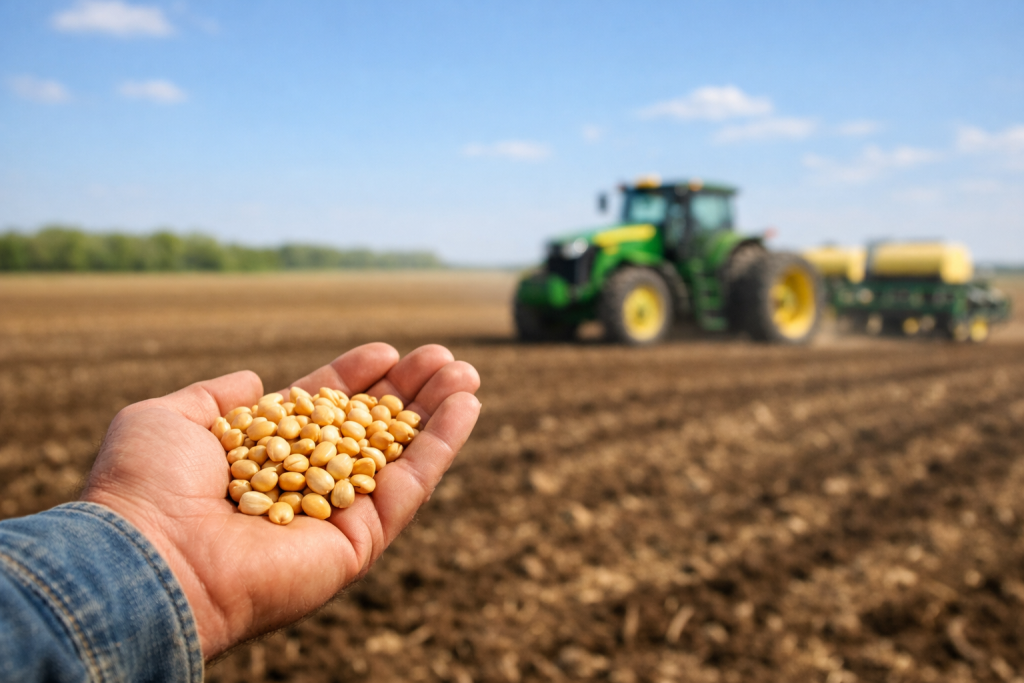
Poor seed quality or leftover impurities can directly affect singulation, spacing, and emergence — even if the planter is set correctly.
A quick check before the first acre helps avoid uneven stands, replanting, and downtime.
2026 season note: GPS/data readiness
Back up and clean up your planting data
Before the first day in the field, take a few minutes to get your data in order.
Back up everything on your display so you’re not relying on a single device during the season.
Confirm that your field boundaries and guidance lines are current and match what you expect in the field.
If you’re using prescriptions, make sure they’re loaded and ready before you start.
It’s also worth clearing out old or unused files. Extra layers, outdated fields, or duplicate guidance lines can slow you down or create confusion when you’re trying to move fast.
This is one of those things that’s easy to skip, but when something doesn’t line up on day one, it quickly turns into lost time.
If you use GPS guidance, be aware of the 2026 datum shift
Quick check for this season:
- Back up your guidance lines
- Check with your dealer on system updates and compatibility
- Verify a few known points in the field
- Resurvey high-value areas if something doesn’t line up
Keep it simple: confirm alignment, updates, and field accuracy before relying on guidance across the entire field.
Walk-around inspection: what to look at before you leave the yard
Row units & wear points
Start with a simple walk-around of the planter.
Look for anything loose, missing, or not sitting where it should. Check that all components move freely and nothing is binding or sticking. Pay attention to areas that typically wear over time.
It helps to go row by row and visually scan key parts:
- parallel arms
- openers and scrapers
- gauge wheels and arms
- seed tube guard
- closing components
- row cleaners
- meter components
Also check for any buildup or blockage in the seed path. Dirt, dust, or leftover material from last season can affect how seed moves through the system.
You don’t need exact measurements here. The goal is to confirm everything looks right and is operating as expected based on manufacturer specifications.
Metering & seed delivery cleanliness
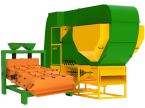
Clean seed flow is critical for consistency in the field — especially when using air-based grain cleaning systems that remove light impurities and dust before planting.
Make sure hoppers, tubes, and delivery paths are clean before you start. Remove any debris or leftover material that could interfere with seed flow.
Confirm that meters are clean and functioning properly. If anything looks cracked, worn, or obstructed, it’s better to address it now than discover it after a few passes.
Small restrictions in the system can quickly turn into spacing issues once you’re planting.
If seed is being cleaned or prepared before planting, make sure your grain cleaning setup is also ready and properly adjusted. Seed cleaning and seed conditioning help reduce unwanted material before it reaches the planter, while air separation or aerodynamic cleaning can remove light impurities and dust that may otherwise affect seed flow.
Cleaner seed going into the planter helps support more consistent delivery, better spacing, and more uniform emergence.
Closing and seed-to-soil contact basics
Take a close look at your closing system.
Make sure components are centered and moving freely. Watch for any play, wear, or misalignment that could affect how the trench is closed.
The goal here is simple: consistent seed-to-soil contact across the row.
You’re not dialing in settings yet, just confirming that everything is ready to close the trench properly once you’re in the field.
The first acre test: confirm, not guess
Before committing to the whole field, take a few minutes to run a short test.
Plant a brief strip. Then stop.
Get out of the cab and check what’s actually happening in the soil. Look at seed depth, placement, spacing, trench closure, and how well you’re getting seed-to-soil contact.
If something doesn’t look right, adjust and check again.
This isn’t about dialing in perfect settings from the start. It’s about confirming that what you expect is actually happening in your current field conditions.
Conditions can change quickly from field to field or even within the same field. What worked yesterday or in a different area may not hold up today.
A quick check after the first pass helps catch small issues early, before they turn into uneven stands or time lost fixing problems later.
Seed treatment & seed treaters: what to mention safely
What growers should verify
If you’re working with treated seed, it’s important to remember that it’s not just seed. It’s a pesticide-treated product, and it should be handled accordingly.
Follow the seed tag and product label for handling and use.
Wear appropriate PPE when working with treated seed.
Minimize dust and unnecessary exposure during handling and loading.
This is less about process and more about consistency and safety. A few basic checks here go a long way in avoiding issues during planting.
Uneven treatment or dust buildup can also affect seed flow and meter performance.
If treating on-farm: clean-out, calibration, and records
If you’re applying treatment on-farm, start by making sure the equipment is clean and ready before use.
Confirm that seed is flowing evenly through the system and that nothing is obstructed or inconsistent. Calibrate the system according to the manufacturer’s process, and don’t rely on last year’s setup.
It’s also a good idea to keep a simple record of what was used and when. Nothing complicated, just enough to stay consistent across fields and over time.
Some mobile treaters today are designed with enclosed calibration systems and features that help reduce operator exposure during setup and use. Regardless of the equipment, the goal remains the same: consistent application and safe handling.
Wrap-up and next step
Before the season gets busy, it’s worth taking a few minutes to run through this checklist once.
You can save it, bookmark it, or print a copy to keep on hand. It’s a simple way to make sure nothing important gets missed when things start moving fast.
If you’re planning to clean or condition seed this spring, make sure your grain cleaning setup is ready and properly adjusted before planting starts.
For growers using air-based grain cleaning systems, this also means checking that the equipment is clean, adjusted, and ready to remove light impurities and dust before seed goes into the planter.
Getting seed cleaning or seed conditioning done early helps:
- Avoid last-minute delays
- Keep your planting window focused on the field
- Reduce the risk of rushing through preparation
Once conditions are right, timing matters.
Having everything ready ahead of time makes the rest of the season a lot smoother.
📞 T: +1 336 612-3077
✉️ Email: info@metragraincleaner.com